Maximize Feed Quality
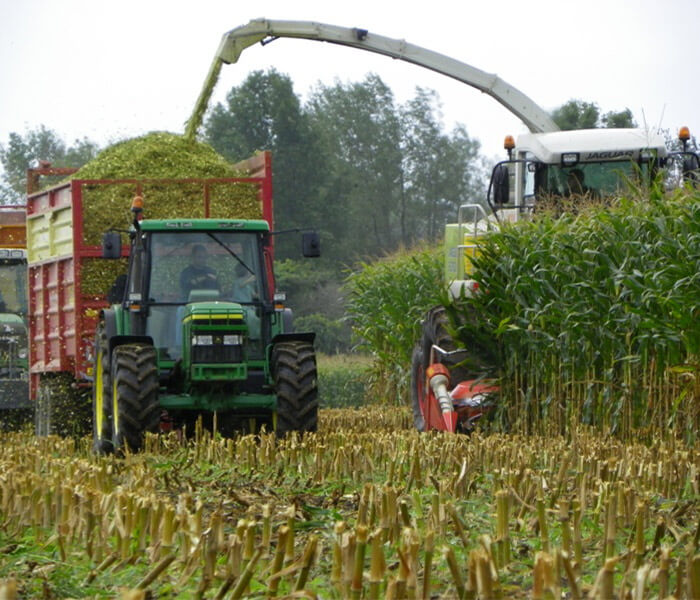
By the time you are reading this, south central Wisconsin will be just over 45 days since vegetative growth stage (VT), otherwise known as tassel. Although many factors are taken into place, 42 to 47 days post tassel is a signal that the plant is ready to be harvested for corn silage. With how busy and chaotic this season may be, it is important to remember the basics to maximize your feed quality for the upcoming year.
1. Moisture
This is the key variable to maintain control of when harvesting corn silage to take full advantage of quality and digestibility. Begin checking all corn silage fields and when the milk line has reached 20%, start to check whole plant moisture. Remember, the milk line at 20% is when the line is just starting to move from the top of the kernel to the tip. Note each field as they are assessed and once the wetter fields have been identified, a harvest plan can be determined. Harvest moisture is dependent on the storage unit, but typically a start benchmark of 70% moisture for bunkers and piles is safe. Ending with plant moisture above 63% is ideal for fermentation and NDFd.
2. Chop Length
The ideal length may be determined by many factors including desire of overall total mixed ration length, plant moisture, and kernel processing abilities. For a standard self-propelled chopper with a processor, the recommended length is 3/4”-7/8”. For an operator that does not have a processor, and it is not an option to hire it done, shoot for 3/8” and put up the silage as wet as your silo will tolerate. If the corn plant is drier than desired (more than 2/3 milk line), consider raising your cutter bar height. Ideally, harvesting at the correct height would avoid this as rough estimates say each foot left in the field is about 1 pound of dry matter.
3. Processing
To amplify starch usage in the digestive tract, kernels must be processed. The type of starch (starchy/pasty versus dry/floury) and moisture of the plant should be noted when setting roll gaps. Typically, 1.5 mm (this recommendation varies depending on chopper units) does the trick. If you have a dry and floury starch or maybe a drier plant, consider going tighter. A quick trick to double-check your processing quality is to fill a 32 ounce container with your harvested silage. Assess quality by counting how many whole kernels there are. Also note any harder kernel pieces that are more than half the size of a kernel. There should be none of either.
4. Packing & Storage
Last but not least, when packing piles, a good rule of thumb is the rule of 800. For maximum packing density, aim for 800 pounds of tractor for every ton of silage delivered each hour. Always remember to cover your piles as soon as possible after the pile has been packed. Consider applying a buchneri inoculant during the harvesting phase to kickstart fermentation once properly ensiled in your bunker, bag, silo, etc.
If you have questions, concerns or just want a hands-on assessment of any of the above tips, reach out to your trusted Premier Cooperative consultant today!
Genny Speckman
Dairy Production Consultant